How to Upgrade Your Laptop’s RAM
If your laptop has an extra RAM slot, you can easily use it to upgrade its current RAM capacity. Once you have the compatible RAM, shut down your laptop, and disconnect all peripherals, including the power cable. Then, follow the below steps to complete the upgrade process.
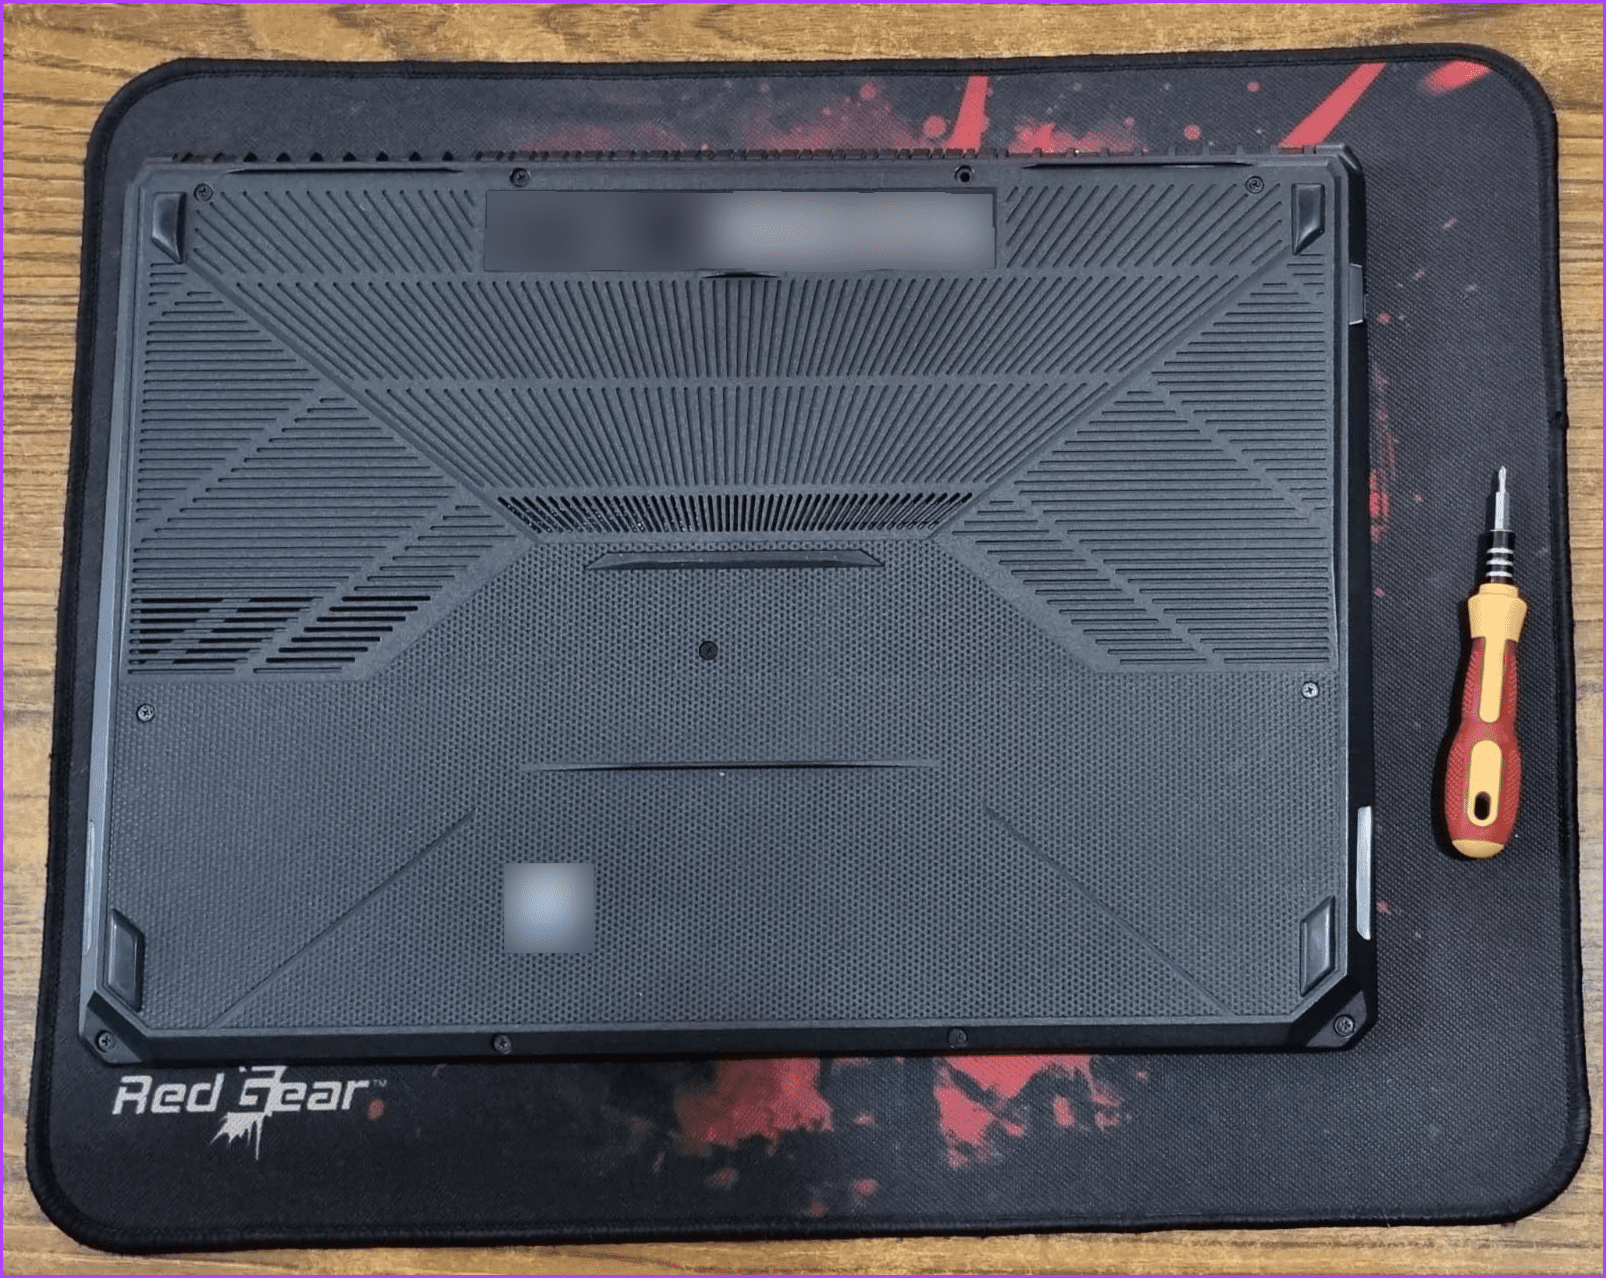
Step 1: Flip your laptop and keep it on a soft surface. Use a screwdriver to carefully open all the screws.

Step 2: Wedge a card or a thin plastic piece in the opening and carefully pop the back open.

Step 3: Locate the empty RAM slot. It’s usually located right below or beside the current RAM.

Step 4: Take the new RAM and insert it at an angle until the notch on the RAM aligns with the slot. Ensure to insert it all the way in.

Then, push the new RAM down until the side clips click into place. Close the back cover and ensure there’s no gap between the back cover and the laptop. Fasten the screws, flip the laptop, and it’s done.
Also Read: How to check RAM speed on Windows 11
How to Check if Your Laptop’s RAM Has Been Upgraded
Once you have finished upgrading the RAM, you can use the Task Manager to check if the upgrade has been successful. This way you can be sure your RAM upgrade has gone through and the new RAM is currently in use. Here’s what to do.
Step 1: Open Task Manager and go to the Performance tab. Select Memory.
Step 2: Now, check how much RAM is currently available. You can also see how many slots are in use.

If you’ve added an extra RAM to the current setup, it should show up as 2 of 2 or 2 of 4, depending on how many slots are available. If not, you might need to troubleshoot the RAM upgrade.
Was this helpful?
Last updated on 05 September, 2024
The article above may contain affiliate links which help support Guiding Tech. The content remains unbiased and authentic and will never affect our editorial integrity.


