Method 1: Check the PC or Laptop Model From the Manufacturer’s Site
If you use a pre-built rig from a PC maker or have a laptop, the first course of action is to check the manufacturer’s website for product details. The product specifications page will list the RAM size, type, and other details.
However, if your PC (desktop or laptop) is slightly old and you don’t have its model number, use the System Information app to check the model number of your PC. Here’s how:
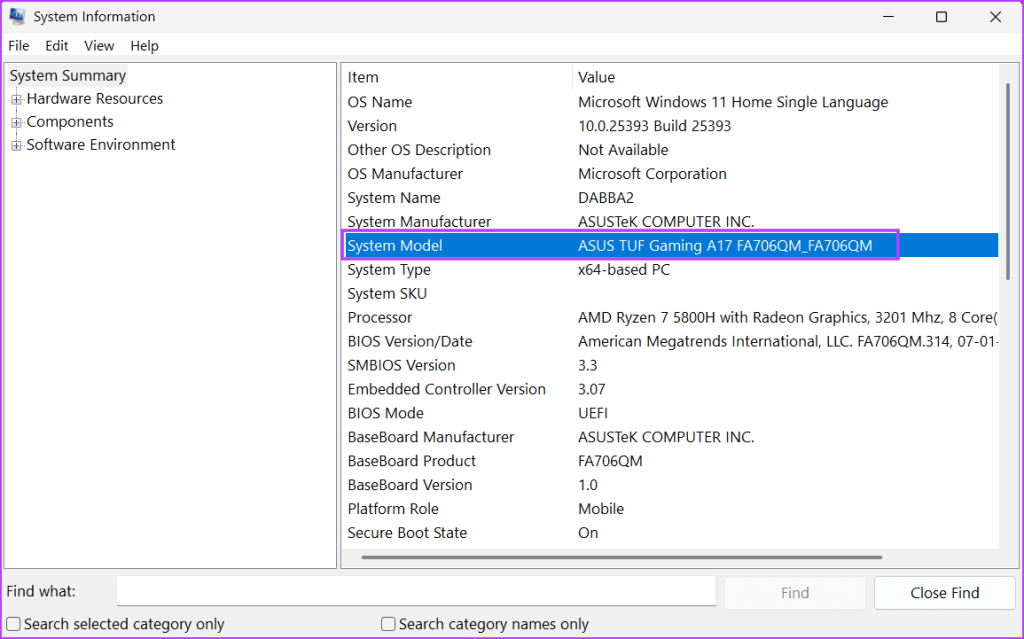
Step 1: Open the Start menu > type Sysinfo in the search box > press Enter.

Step 2: Click on the System Model entry on the right and press the Control + C keyboard shortcut to copy the entry.
Step 3: Open a browser, go to the address bar, and paste the copied System Model entry. Press Enter to search for it.
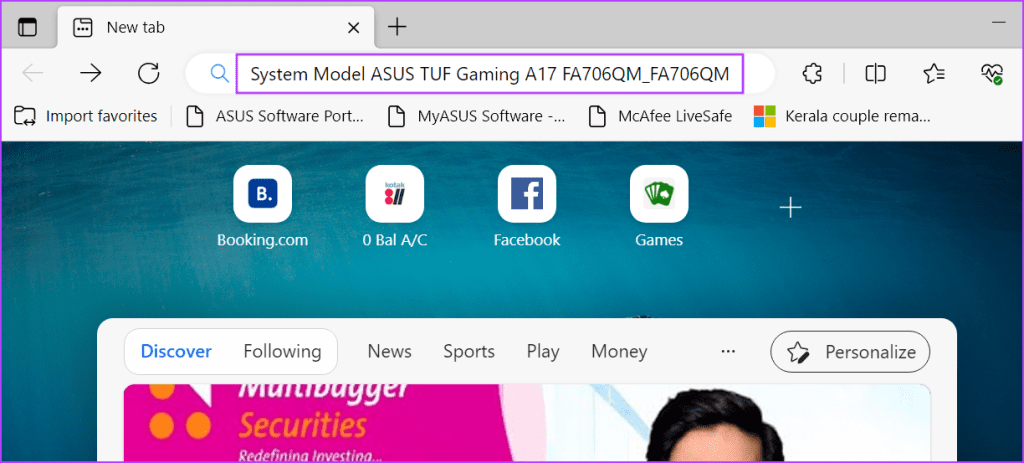
Step 4: Click on the relevant search result and look for the product’s technical specs page to find the RAM type.

Method 2: Using Task Manager
If you cannot find the system model name and number, use Task Manager to check the RAM type of a Windows 10 or 11 PC. However, this method can only display the RAM details of DDR3 or older memory. If you have DDR4 RAM installed, it won’t show the RAM type. Here’s how to do it:
Step 1: Press the Control + Shift + Esc keyboard shortcut simultaneously to open the Task Manager.
Step 2: Switch to the Performance tab.
Step 3: Click on the Memory option.
Step 4: At the top right, there’s a mention of memory with RAM size. If your RAM is DDR4, you will only see the size under that column.
However, if your RAM is DDR3, you will also see the RAM type.

Method 3: Using Command Prompt
If you want to find out what kind of RAM your PC has, you can use the Command Prompt. It will display the number instead of stating DDR3 or DDR4. Here’s how to do it:
Step 1: Open the Start menu, type cmd in the search box, and press Enter to open Command Prompt in the Terminal app.

Step 2: Now, type the following command in Terminal and press Enter to execute it:
wmic memorychip get SMBIOSMemoryType
Step 3: The command will output numbers. In our case, it is 26, which denotes that our PC has a DDR4 RAM installed. If you see the number 24, you have DDR3 RAM.
Method 4: Using PowerShell
Like the Command Prompt method, you can also know if the RAM is DDR3, DDR4, or any other version by using the Get-CimInstance cmdlet in PowerShell. But this method will also display a number instead of a simple text like DDR3 or DDR4 as the output. Repeat the following steps:
Step 1: Launch the Start menu > type PowerShell in the search box > press Enter.

Step 2: Type the following command in the terminal and press Enter to execute it:
Get-CimInstance -ClassName Win32_PhysicalMemory | Format-Table SMBIOSMemoryType
Step 3: The command will output a number. In our case, it shows 26 because we have DDR4 memory. You might see another number if you have DDR3 or older memory.
Method 5: Using a Third-Party App
If you don’t want to spend time searching for your RAM type or find the Command Prompt or PowerShell route complicated, use a third-party app instead. It will present all the information related to each component (CPU, RAM, GPU, and more) in an easy-to-understand manner.
You can use Speccy or CPU-Z to check the RAM type in a PC on Windows 11 or older OS with minimal effort. Here’s how to do it using Speccy:
Step 1: Download Speccy. Then, press the Windows + E keyboard shortcut to open the File Explorer.
Step 2: Navigate to the Downloads folder and double-click to run the setup file.
Step 3: Follow the on-screen instructions to install Speccy on your PC.
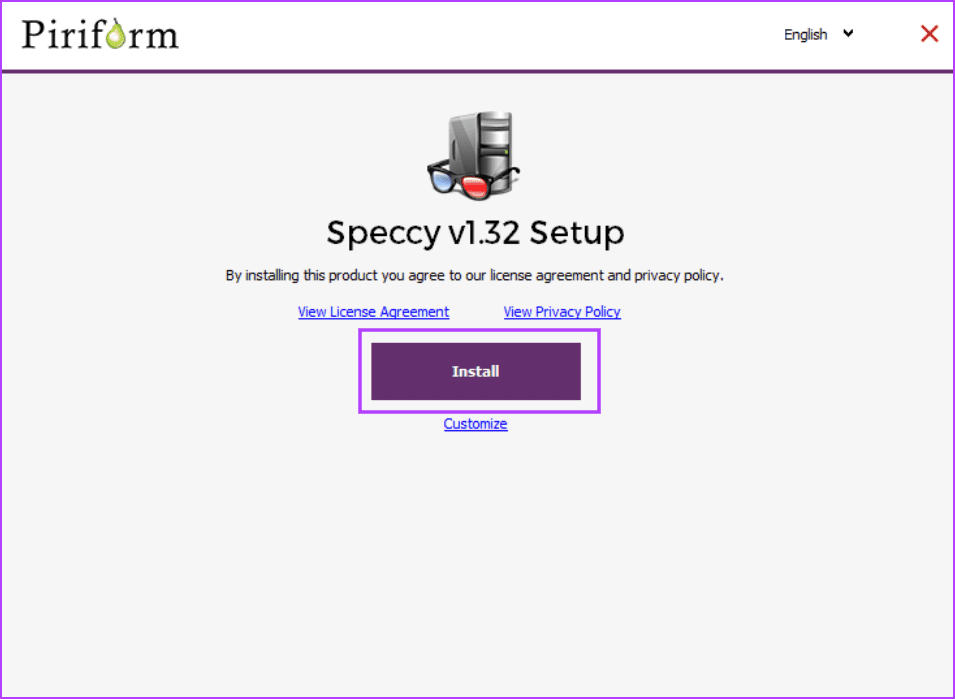
Step 4: Click on the Run Speccy button.

Step 5: Wait for the app to analyze all the hardware components in your PC. Then, click on RAM in the left-side menu.
Step 6: It will display all the RAM details, including its type, size, frequency, and usage.

Also Read: How to increase Virtual Memory on Windows 11
Was this helpful?
Last updated on 04 September, 2024
Read Next
 3 Ways to Check RAM Speed on Windows 11
Method 1: Check RAM Speed From the Task Manager The Task Manager app allows you to view your computer's core hardware details, such as RAM speed, besides monitoring system processes
3 Ways to Check RAM Speed on Windows 11
Method 1: Check RAM Speed From the Task Manager The Task Manager app allows you to view your computer's core hardware details, such as RAM speed, besides monitoring system processes
 How to Check if Windows Laptop Has HDD or SSD and Its Type
Method 1: Using Task Manager Step 1: Right-click on the taskbar at the bottom and select Task Manager.
How to Check if Windows Laptop Has HDD or SSD and Its Type
Method 1: Using Task Manager Step 1: Right-click on the taskbar at the bottom and select Task Manager.
 3 Ways to Clear RAM Cache on Windows 11
Things to Keep in Mind When Clearing RAM Cache Here are a few important points you must keep in mind when deleting the RAM cache on Windows: After clearing the
3 Ways to Clear RAM Cache on Windows 11
Things to Keep in Mind When Clearing RAM Cache Here are a few important points you must keep in mind when deleting the RAM cache on Windows: After clearing the
 7 Best Ways to Fix OneNote Won’t Let Me Type Error in Windows 10
Microsoft OneNote is one of the oldest note-taking apps and a key component of Microsoft's Office Suite.
7 Best Ways to Fix OneNote Won’t Let Me Type Error in Windows 10
Microsoft OneNote is one of the oldest note-taking apps and a key component of Microsoft's Office Suite.
 7 Ways to Fix Can’t Type in Windows 11 Search Bar
Fix 1: Restart the Windows Explorer Process Windows Explorer is a system process that handles the graphical user interface (GUI) for several utilities, including the taskbar.
7 Ways to Fix Can’t Type in Windows 11 Search Bar
Fix 1: Restart the Windows Explorer Process Windows Explorer is a system process that handles the graphical user interface (GUI) for several utilities, including the taskbar.
 3 Ways to Change File Type (Extension) on Windows 11
https://youtu.be/Y4c__3CZces How to Use Control Panel to Make File Type Visible Before we go about changing the file type on Windows 11, let's first have a look at how you
3 Ways to Change File Type (Extension) on Windows 11
https://youtu.be/Y4c__3CZces How to Use Control Panel to Make File Type Visible Before we go about changing the file type on Windows 11, let's first have a look at how you
 How to Free Up RAM in Windows Using Command Line
How to Use Empty Standby List to Free Up Memory on Windows Empty Standby List is a small command-line application that lets you free up memory on Windows.
How to Free Up RAM in Windows Using Command Line
How to Use Empty Standby List to Free Up Memory on Windows Empty Standby List is a small command-line application that lets you free up memory on Windows.
 Which Browser Uses the Least RAM and CPU on Windows
How We Tested the Web Browsers We tested all four web browsers on a Windows machine with a quad-core CPU and 8GB of RAM.
Which Browser Uses the Least RAM and CPU on Windows
How We Tested the Web Browsers We tested all four web browsers on a Windows machine with a quad-core CPU and 8GB of RAM.
The article above may contain affiliate links which help support Guiding Tech. The content remains unbiased and authentic and will never affect our editorial integrity.