A presentation with just text is boring, and adding images can make it attractive. However, using simple images can become monotonous. To give a different look to your slides, you can edit and customize images in Google Slides. One of the ways to customize pictures is to add a border to them. This post shall help you in achieving that.

Google Slides comes with a border tool of its own. But the options are limited. In this post, we have covered the native border tool and other methods to add a border around images in Google Slides. You can have both simple and decorative backgrounds.
Let’s check the various methods.
Note: The steps are shown for a computer but the same methods can be used on Android and iOS as well.
Method 1: Using Border Tool
This is one of the easiest ways to outline a picture in Google Slides. Start by adding the required picture to your slide. Then click on the image to select it. Once selected, three border tools will be activated in the ribbon. Those are – Border color, weight, and dash. The latter is used to change the style of the border.
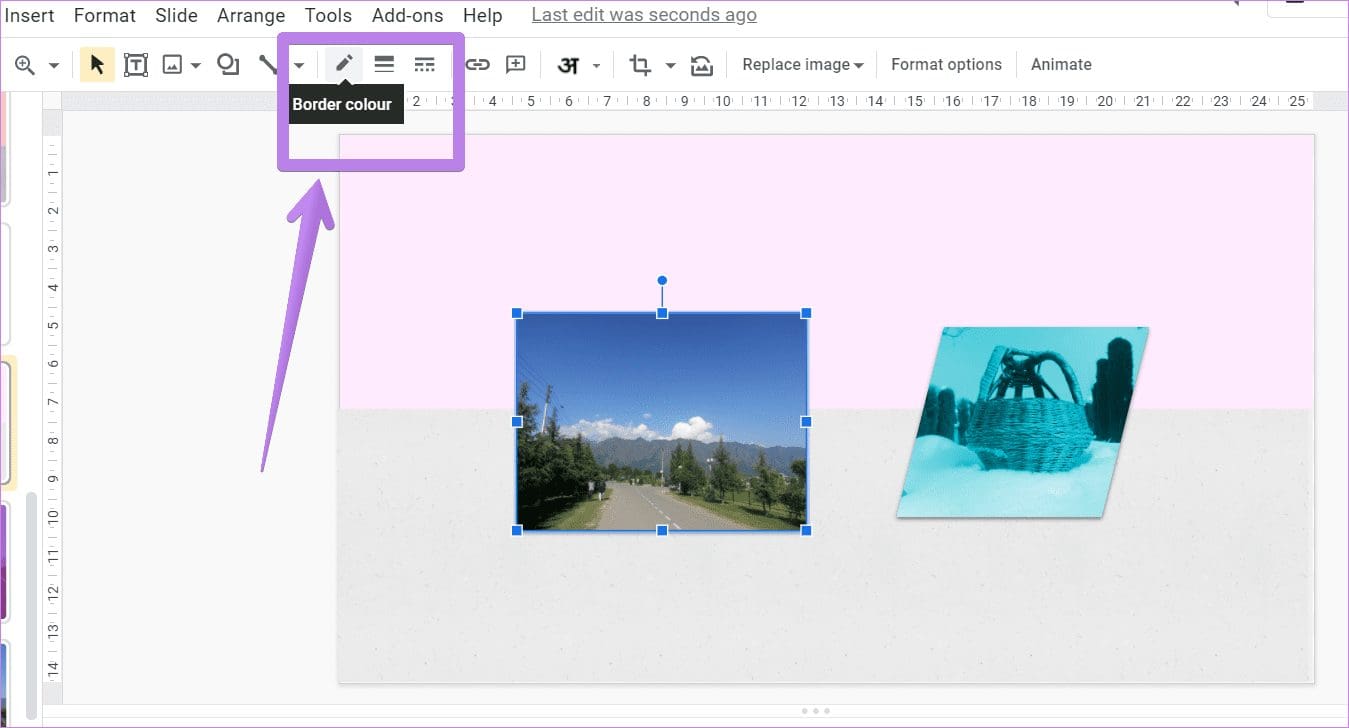
Click on any of the tools to add the border. Then customize the border by changing its style, size, and color using the three options.
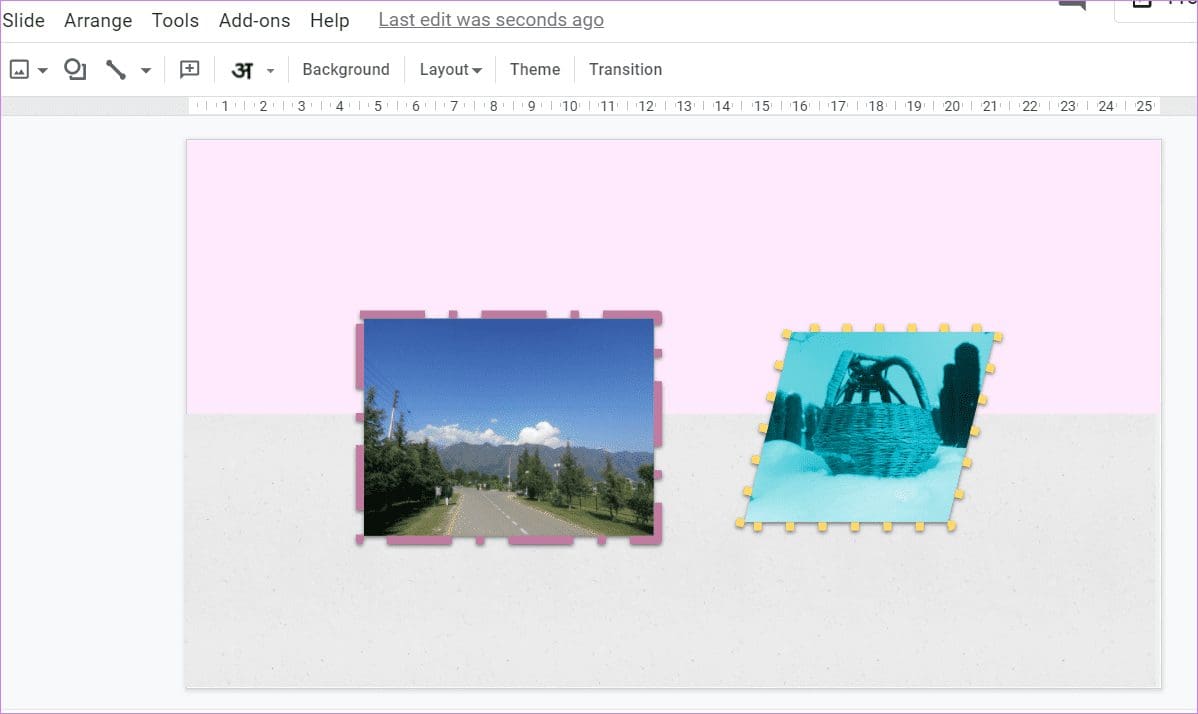
Method 2: Using Shapes
If you don’t like the above method’s borders, you can create your own custom borders using shapes. In this method, we will be adding an image on top of the shape or using a shape as the image’s background. The final image looks like a picture with a customized border.
Here’s how to go about it:
Step 1: Add the image to the slide.
Step 2: Click on the Insert option in the menu bar and select Shape. Choose the required shape from the available options.
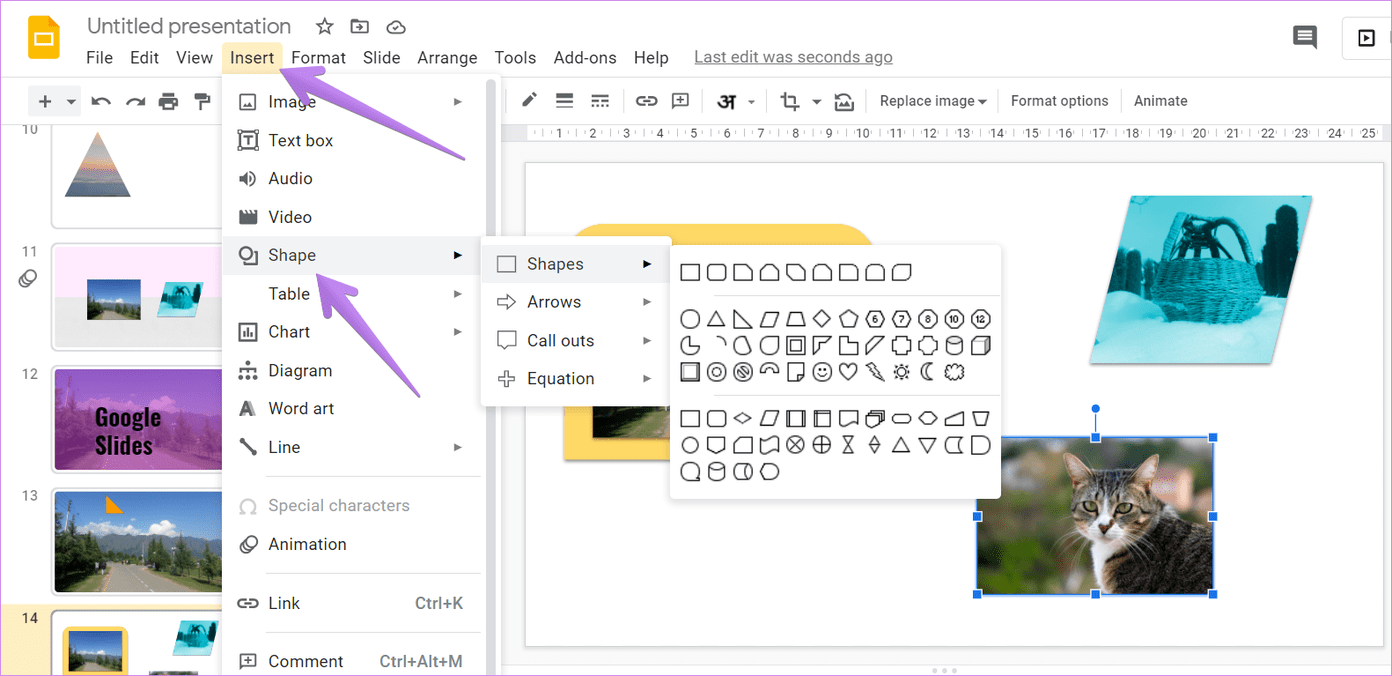
Step 3: With your mouse, draw the required shape on the slide. You will notice that the shape appears on top of the image.
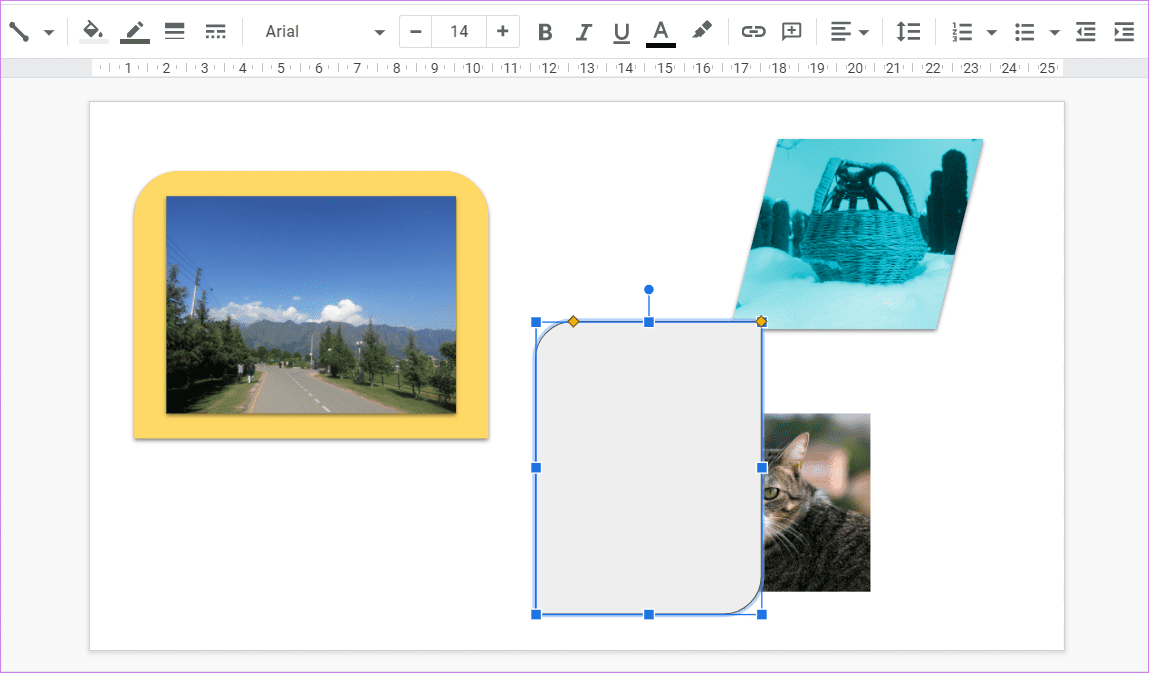
To bring the image to the front, right-click on the shape and go to Order > Send backwards.
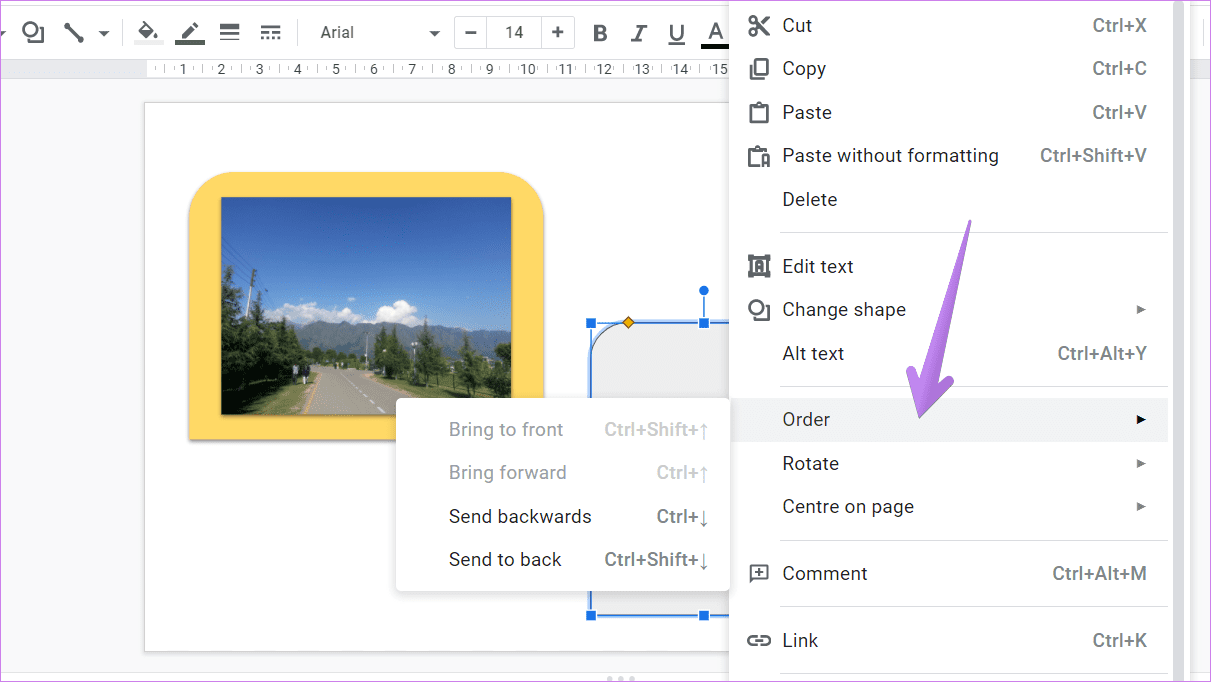
Step 4: Drag the image on the top of the shape. You can rotate, resize, or move the shapes according to your requirement.

Tip: To simplify the process, you can add the shape first, followed by adding an image on top of it.
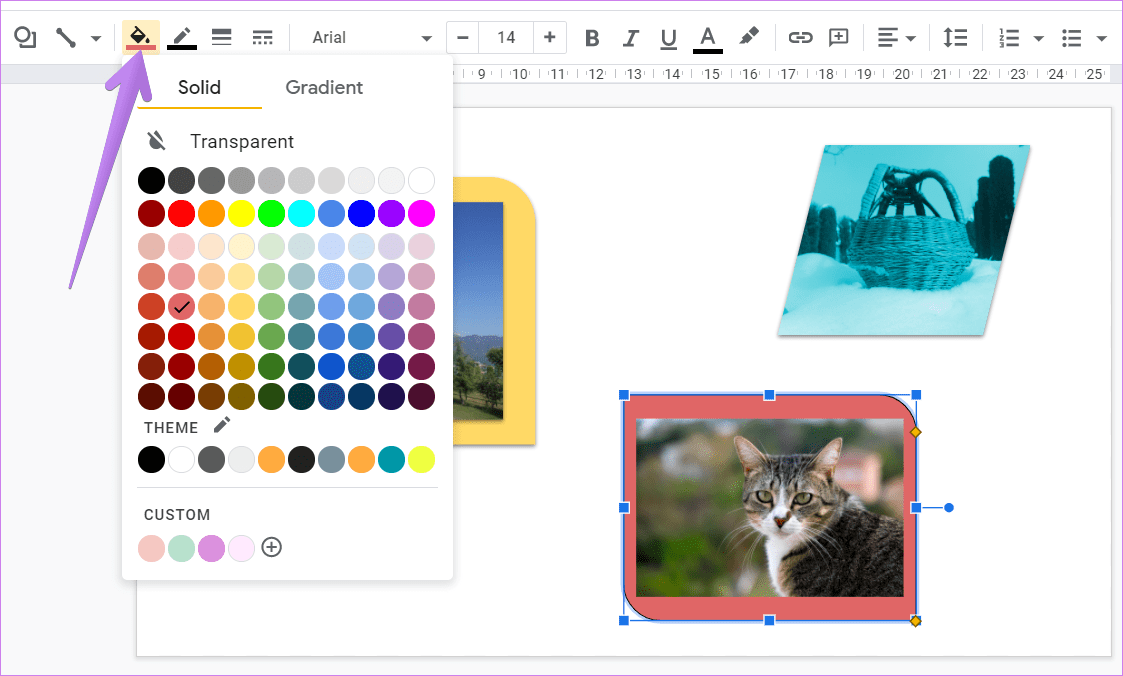
Step 5: You can keep the default shape color or add a new color. Click on the shape to select it. Then click on the Fill color icon in the ribbon. Choose your desired color.
Tip 1: Add Double Border
To further customize the border, you can have two of them. When you add a shape, it has its border. You can either remove it completely, as shown in the next tip, or customize it to have multiple borders.
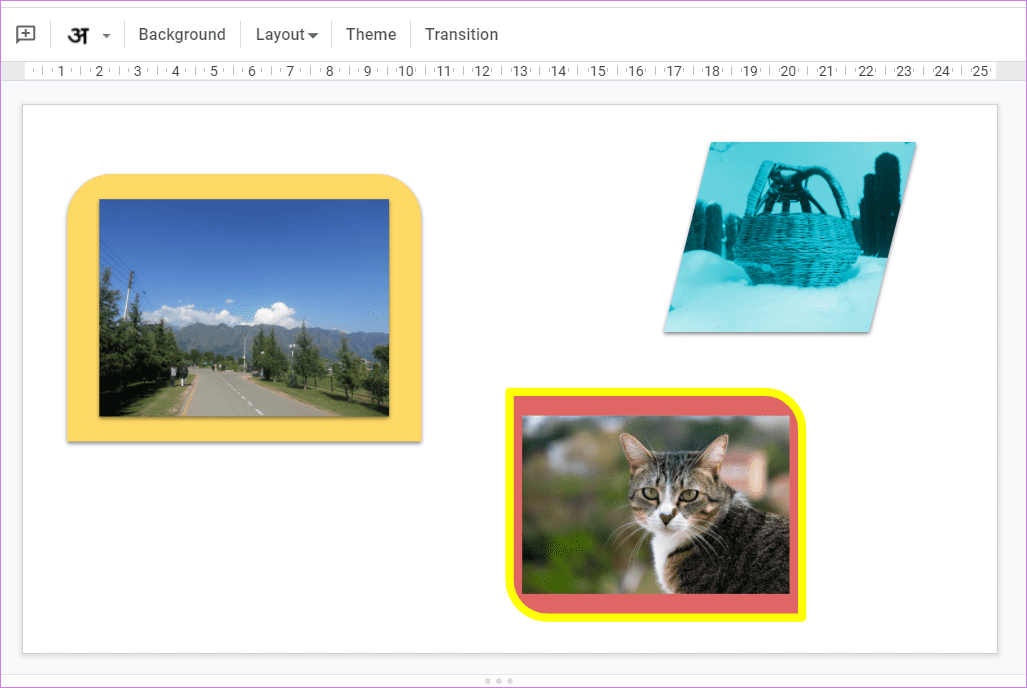
Click on the shape. Use the Border tools – color, weight, and dash that appear in the ribbon to customize it.

Tip 2: Remove Shape Border
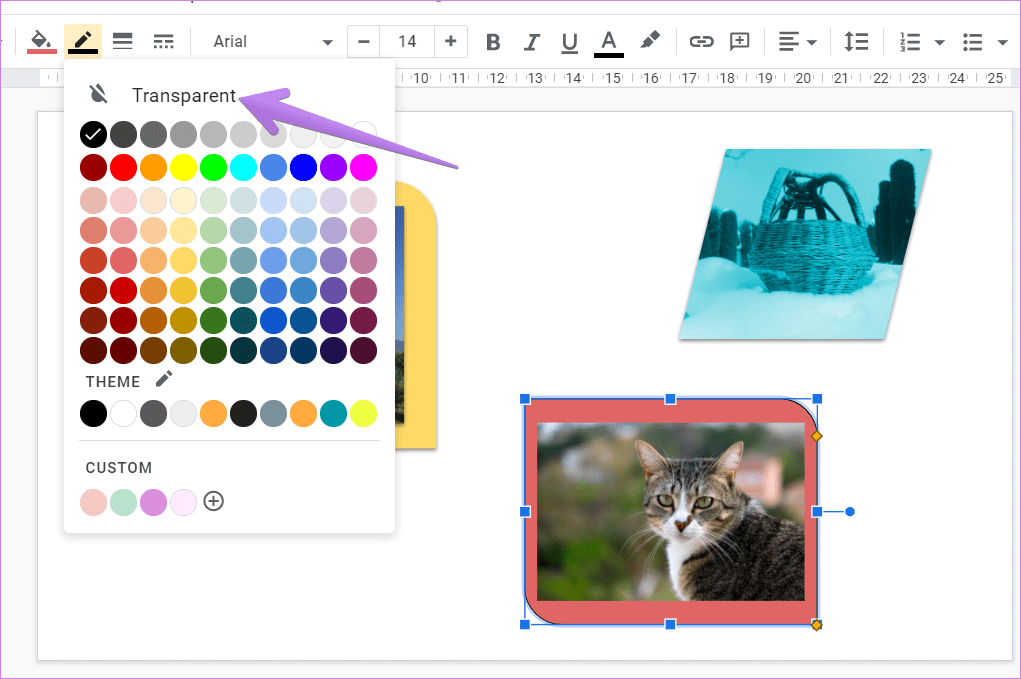
To remove the black outline from the shape, click on the shape. Then click on the Border color icon in the ribbon. Hit the Transparent option.
Tip 3: Replace Shape
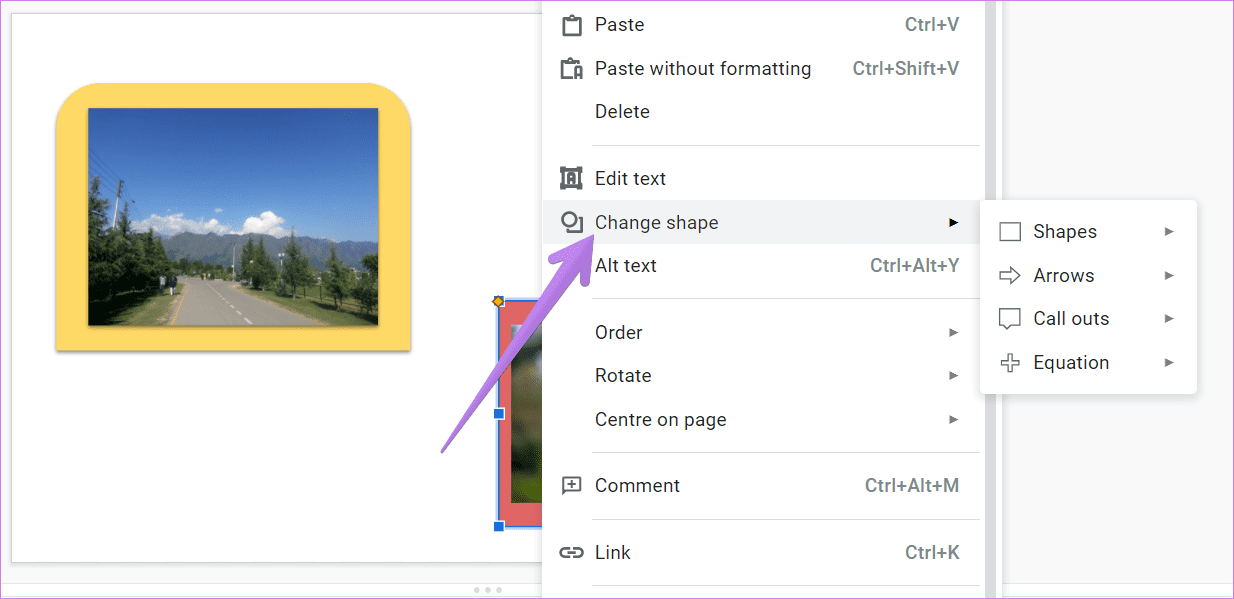
If you don’t like the current shape (or border) used for the image, you can replace it quickly. Right-click on the shape used as a border. Select Change shape from the menu and choose the new shape. Similarly, you can try different border shapes for your picture without starting afresh.
Tip 4: Group Shape and Image
If you want to move or resize the picture and shape, grouping them comes in handy. Check how to group and ungroup elements in Google Slides.
Tip: Check out similar cool tips related to shapes in Google Slides.
Method 3: Using Mask Tool
In this method, we will be taking the help of the Mask and Border tools. First, you will need to mask the picture in shape followed by customizing its border. Here are the steps:
Step 1: Click on the image for which you want to add a stylish border.
Step 2: Click on the tiny arrow next to the Crop icon in the Ribbon. Select the desired shape.
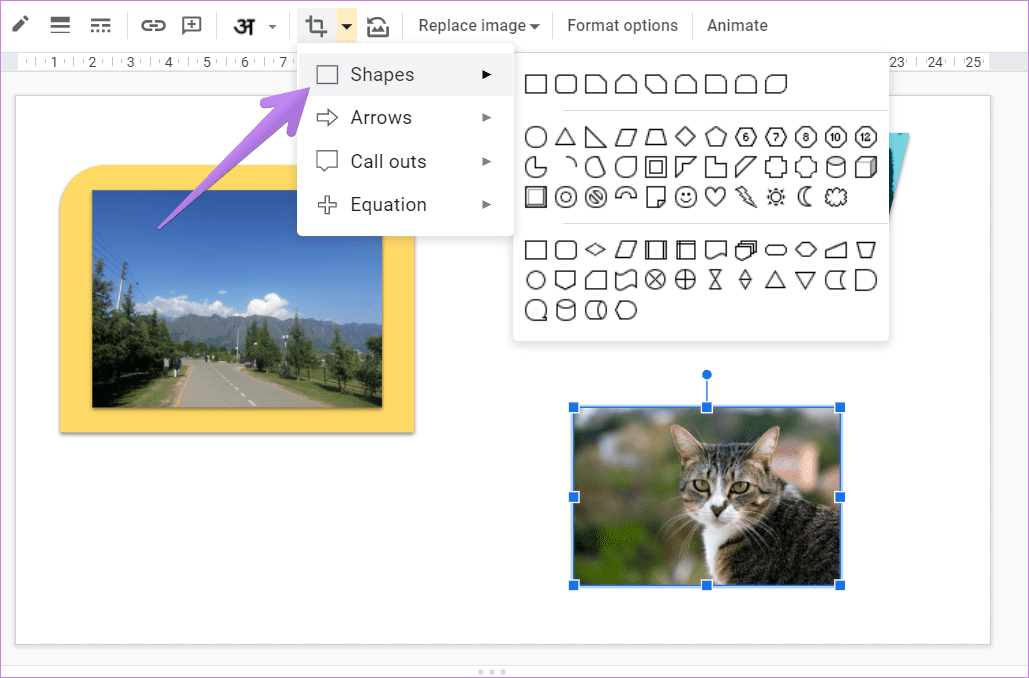
The image will take the required shape automatically.
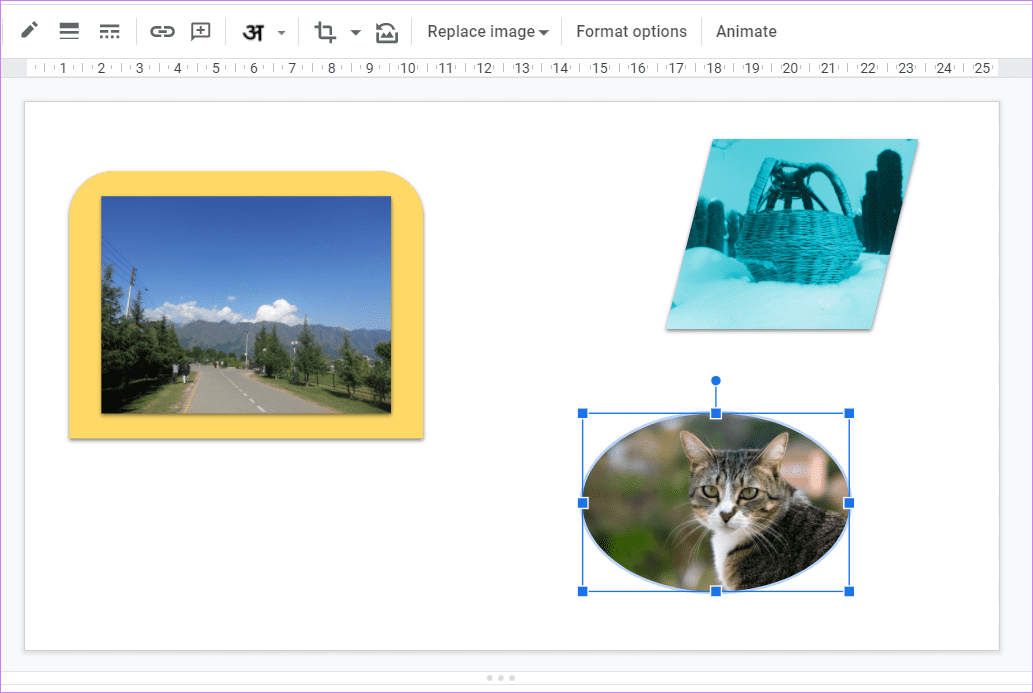
Step 3: With the image selected, use the Border tools to add the required border.
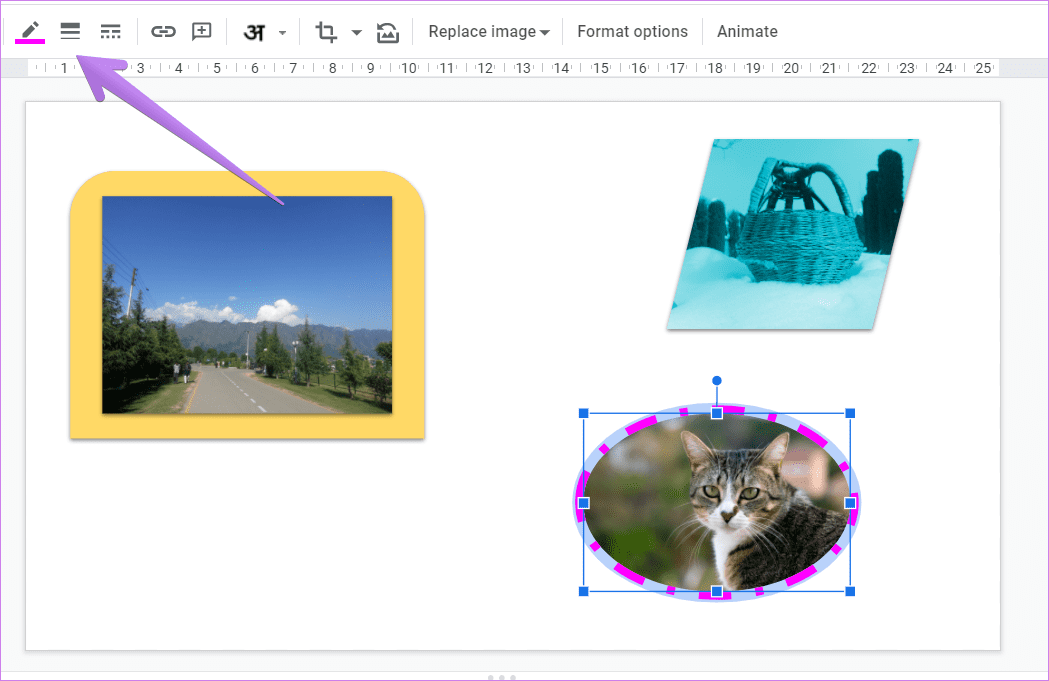
Method 4: Add Decorative Border
Lastly, you can add decorative borders to your image. You will need to download them from the internet. Go to Insert > Image > Search the web.
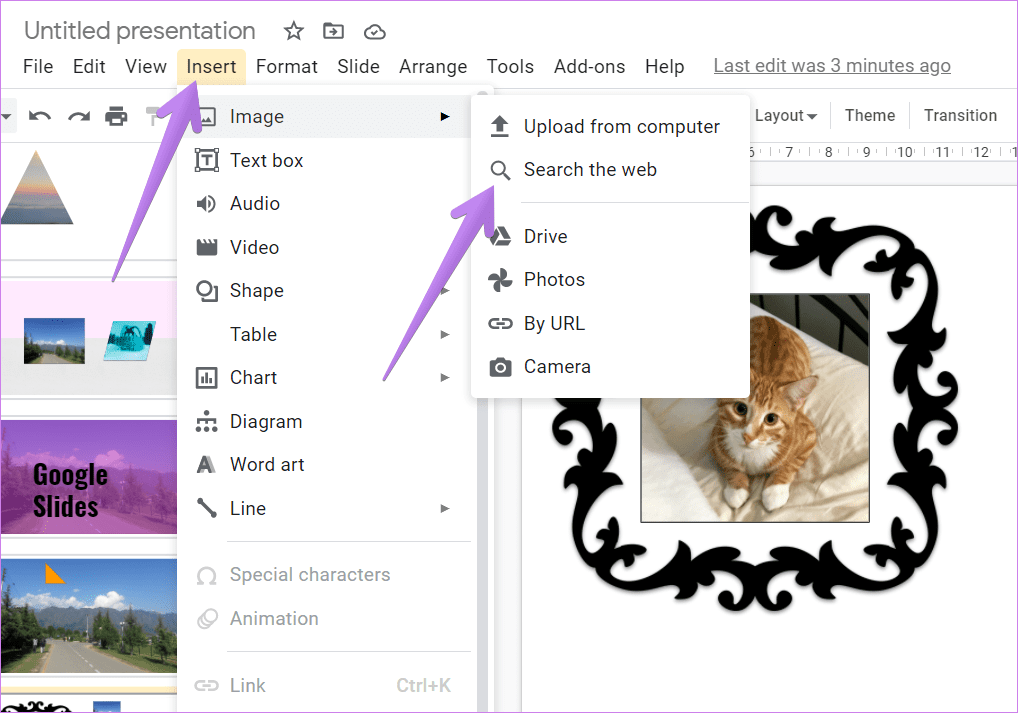
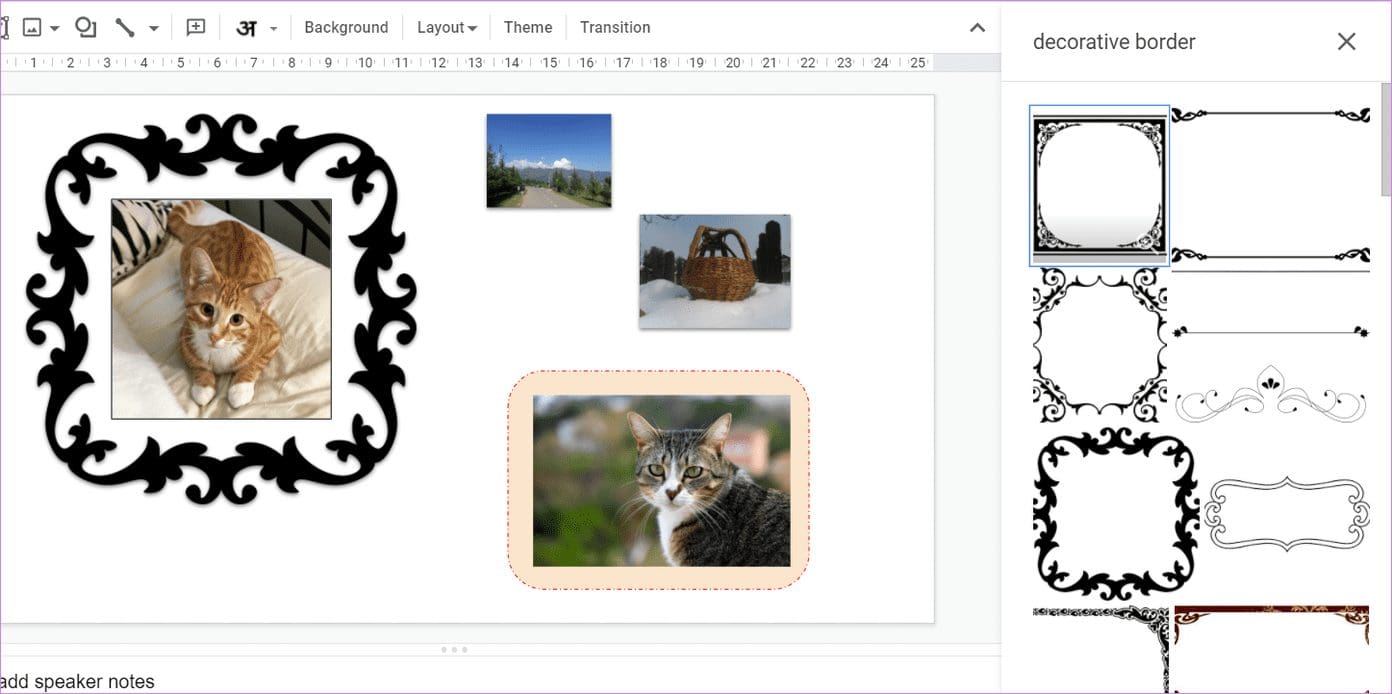
Search for decorative borders. Choose the border that you want to use. Now resize or move it to fit the picture.
Tip: Check out 11 animation tips and tricks for Google Slides.
Google Slides Tips and Tricks
Google Slides is loaded with creative options to spice up your presentations. You need to discover and use them. We have covered 11 such tips and tricks for Google Slides that you might find useful.
Was this helpful?
Last updated on 13 July, 2021
The article above may contain affiliate links which help support Guiding Tech. The content remains unbiased and authentic and will never affect our editorial integrity.


