Basic Ways
- Unpair Bluetooth connection: Do note that turning off Bluetooth will also disconnect your Mac and iPhone from other Apple devices. This is the simplest way to disconnect temporarily.
- Disconnect Mac from iPhone personal hotspot: Unless you are relying on personal hotspot for using internet on your Mac, you can disable this connection.
- Disable AirDrop and Wi-Fi: You will need to connect your iPhone to your Mac using a cable to disable the option of Show this iPhone when on Wi-Fi.
Method 1: Disable Handoff Between iPhone and Mac
Handoff is a key instrument for seamless integration in the Apple ecosystem. In fact, for most continuity features, like Continuity Camera, Continuity Markup, Universal Clipboard, etc., it’s a requirement.
Disable Handoff on Mac
For macOS Ventura and later
Step 1: Click the Apple logo → System Settings → General.
Step 2: Select AirDrop & Handoff and toggle off Allow Handoff between this Mac and your iCloud devices.

Step 3: Finally, select Don’t Allow Handoff.

macOS Monterey and earlier
Click the Apple logo → System Preferences → General → deselect Allow Handoff between this Mac and your iCloud devices from the button on the page.
Disable Handoff on iPhone
Go to Settings → General → AirPlay & Handoff → toggle off Handoff.


Note: If you own multiple Apple devices, disable Handoff on any one device. This way, you can still use the feature with the rest of the devices.
Method 2: Disable Calls and Messages
On Mac
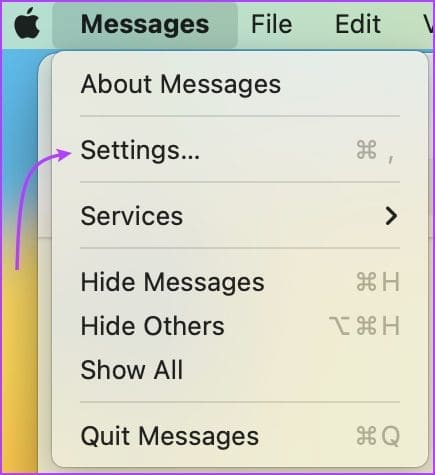
Step 1: Launch the Messages app on Mac. From the menu bar, select Messages and click on Settings/Preferences.
Step 2: Go to the iMessage tab.
Step 3: Here, click Sign Out to disable Messages altogether. Alternatively, you can uncheck Enable Messages in iCloud to turn off SMS but receive iMessages on Mac.

Step 4: Close the window and open FaceTime on your Mac. Then, click on FaceTime from the top Menu Bar, and then select Settings.
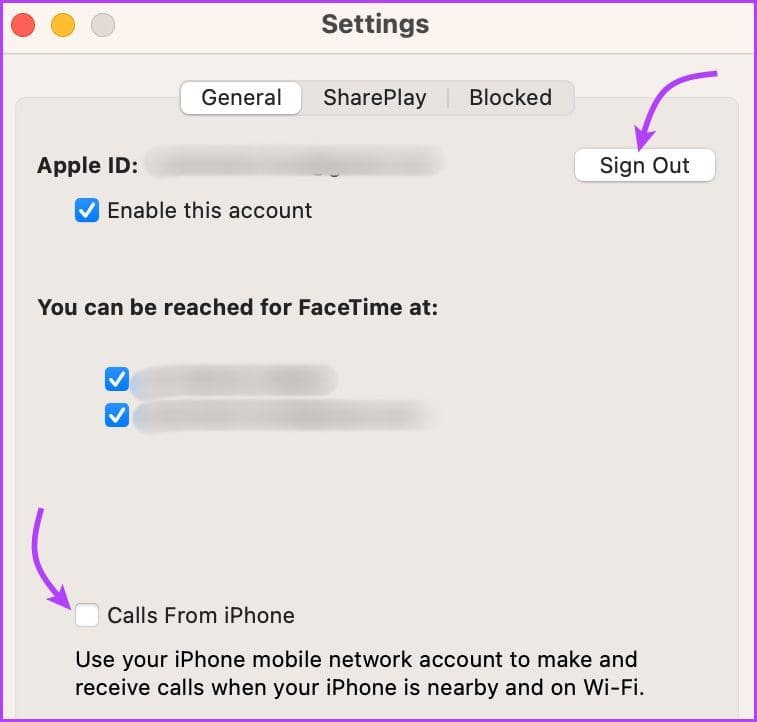
Step 5: In the General tab, uncheck Calls From iPhone.
Note: If you also want to stop FaceTime calls Handoff, click Sign Out at the top
On iPhone
Go to Settings → Messages → scroll to Text Message Forwarding → and Toggle off the Mac from here.


Calls will be automatically disabled when you do the same on Mac.
Method 3: Disable iCloud Syncing
Disable iCloud Sync on MacBook
Step 1: Click the Apple logo at the top-left corner and select System Settings/System Preferences.
Step 2: Click your Apple ID (profile name and image) and then select iCloud.

Step 3: Turn off the feature you don’t want to sync between your iPhone and Mac.

Disable iCloud Sync on iPhone
Go to the Settings app → tap your name from the top → iCloud → Show all → turn off the features or app sync as per preference.


Suppose you want to keep iCloud sync on for one device and off for the other, the steps, as shown above, would suffice.
However, before you turn it off, you might want to download iCloud content on the device. Check out the next three sections for assistance.
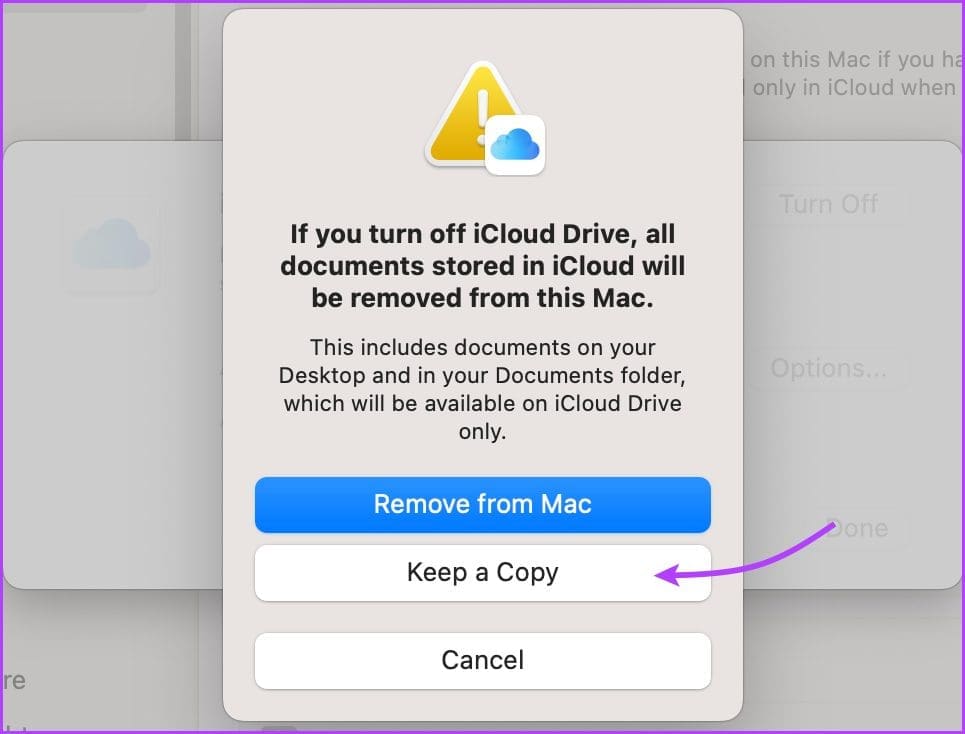
Step 1: Take iCloud Drive Files Offline
Follow these steps to save any iCloud synced folders/files on Mac and files stored in the Files app (iCloud Drive folder) on iPhone locally.
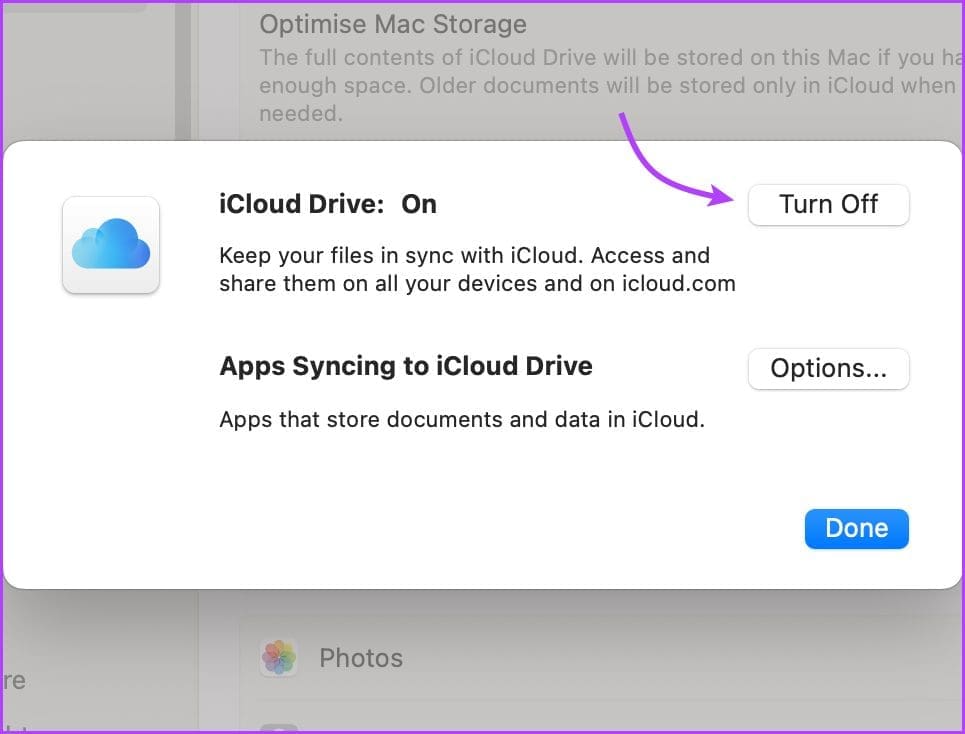
- On Mac: Click Apple logo → System Settings/System Preferences → Apple ID → iCloud → iCloud Drive → Turn Off → select Keep a Copy.
- On iPhone: Go to Settings → tap your name from the top → iCloud → iCloud Drive → toggle off Sync this iPhone → tap Turn Off Syncing iCloud Drive.


Step 2: Save Notes Locally on Your Device
By default, Notes are saved on iCloud Drive to allow sync across devices. Subsequently, if you’re turning off the sync and still want to access some of the notes, here’s what you need to do.
- On Mac: Launch Notes → select Notes from the menu bar → Settings/Preferences → check Enable the On My Mac account.

- On iPhone: Go to Settings → Notes → turn the toggle for “On My iPhone” Account.


Note: If you’re saving notes on a device and have turned off iCloud sync, any subsequent changes will not be saved on iCloud.
Step 3: Change Safari Download Location
The Safari downloads on iPhone are saved in iCloud Drive by default. And though you might have transferred the previous iCloud drive files offline, it’s wiser to change the download location for the future.
On your iPhone, launch Settings → select Safari → scroll down and tap Downloads (under General) → select On My iPhone or Other.


While Safari download on Mac is usually designated to Downloads (local folder), let’s check that off the list to be 100% sure.
Open Safari on your Mac → select Settings/Preferences → General Tab → click on the drop-down menu next to File download location → choose the preferred option.

Method 4: Remove the Device From Apple ID
Only use this method for extreme case scenarios, like before selling your iPhone or Mac, or using different devices for personal and professional use.
Remove iPhone From Apple ID on Mac
Step 1: Go to Apple logo → System Settings/Preferences → Apple ID.
Step 2: From the Devices section on the right, select your iPhone.

Step 3: Click Remove from Account.

Step 4: Click Remove again to confirm the action.
Remove Mac From Apple ID on iPhone
Go to Settings → click on your name from the top → select the Mac from the devices list → tap Remove from Account and then Remove again to confirm.


Was this helpful?
Last updated on 26 April, 2024
Read Next
 How to Permanently Delete Files From a Mac
Method 1: Move Files to Trash and Empty Trash This is the simplest way to remove files permanently from your Mac.
How to Permanently Delete Files From a Mac
Method 1: Move Files to Trash and Empty Trash This is the simplest way to remove files permanently from your Mac.
 Top 3 Ways to Fix Windows Temporary Files Not Deleting
Fix 1: Use Disk Cleanup Disk Cleanup is a disk maintenance utility built into the Windows operating system to help users clear unwanted system files from their PC's hard drive.
Top 3 Ways to Fix Windows Temporary Files Not Deleting
Fix 1: Use Disk Cleanup Disk Cleanup is a disk maintenance utility built into the Windows operating system to help users clear unwanted system files from their PC's hard drive.
 5 Fixes for Logged in With a Temporary Profile Error on Windows
Try Basic Fixes Disable the antivirus program: Sometimes antivirus programs on your PC can interfere with Windows and force it to log you in with a temporary profile.
5 Fixes for Logged in With a Temporary Profile Error on Windows
Try Basic Fixes Disable the antivirus program: Sometimes antivirus programs on your PC can interfere with Windows and force it to log you in with a temporary profile.
 5 Ways to Delete Temporary Files on Windows 11
Method 1: Clear Temporary Files Using the Settings App The Settings app on Windows gives you a complete breakdown of different temporary files stored on your PC.
5 Ways to Delete Temporary Files on Windows 11
Method 1: Clear Temporary Files Using the Settings App The Settings app on Windows gives you a complete breakdown of different temporary files stored on your PC.
 How to Delete WhatsApp Group Permanently (Desktop and Mobile)
How to Delete WhatsApp Group Permanently as Admin As an admin, you are authorized to delete the group from its existence.
How to Delete WhatsApp Group Permanently (Desktop and Mobile)
How to Delete WhatsApp Group Permanently as Admin As an admin, you are authorized to delete the group from its existence.
 How to Hide or Remove the Adobe Reader DC Tools Pane Permanently
Just launch a PDF in Adobe Reader DC, and you should find a Tools pane pop up to the right of the screen.
How to Hide or Remove the Adobe Reader DC Tools Pane Permanently
Just launch a PDF in Adobe Reader DC, and you should find a Tools pane pop up to the right of the screen.
 How to Mute WhatsApp Group Notifications Permanently
Note: WhatsApp syncs across devices.
How to Mute WhatsApp Group Notifications Permanently
Note: WhatsApp syncs across devices.
 How to Remove Chrome Extensions Permanently
Method 1: Remove Extensions Directly From the Extension Bar The easiest way to remove a Chrome extension is to click its icon in the Chrome browser's extension bar.
How to Remove Chrome Extensions Permanently
Method 1: Remove Extensions Directly From the Extension Bar The easiest way to remove a Chrome extension is to click its icon in the Chrome browser's extension bar.
The article above may contain affiliate links which help support Guiding Tech. The content remains unbiased and authentic and will never affect our editorial integrity.